When your knee or ankle is recovering from an injury, rehab is rarely just about strength. Above all, it’s about your body relearning how to secure the joint at the right moment. This is exactly where slackline rehab can be a useful addition: the wobbly line forces you into constant, fine counter-adjustments. One thing to keep in mind up front and throughout this whole text: only use the line if your doctor or physiotherapist has explicitly cleared it and is guiding you.
Slackline rehab: the principle
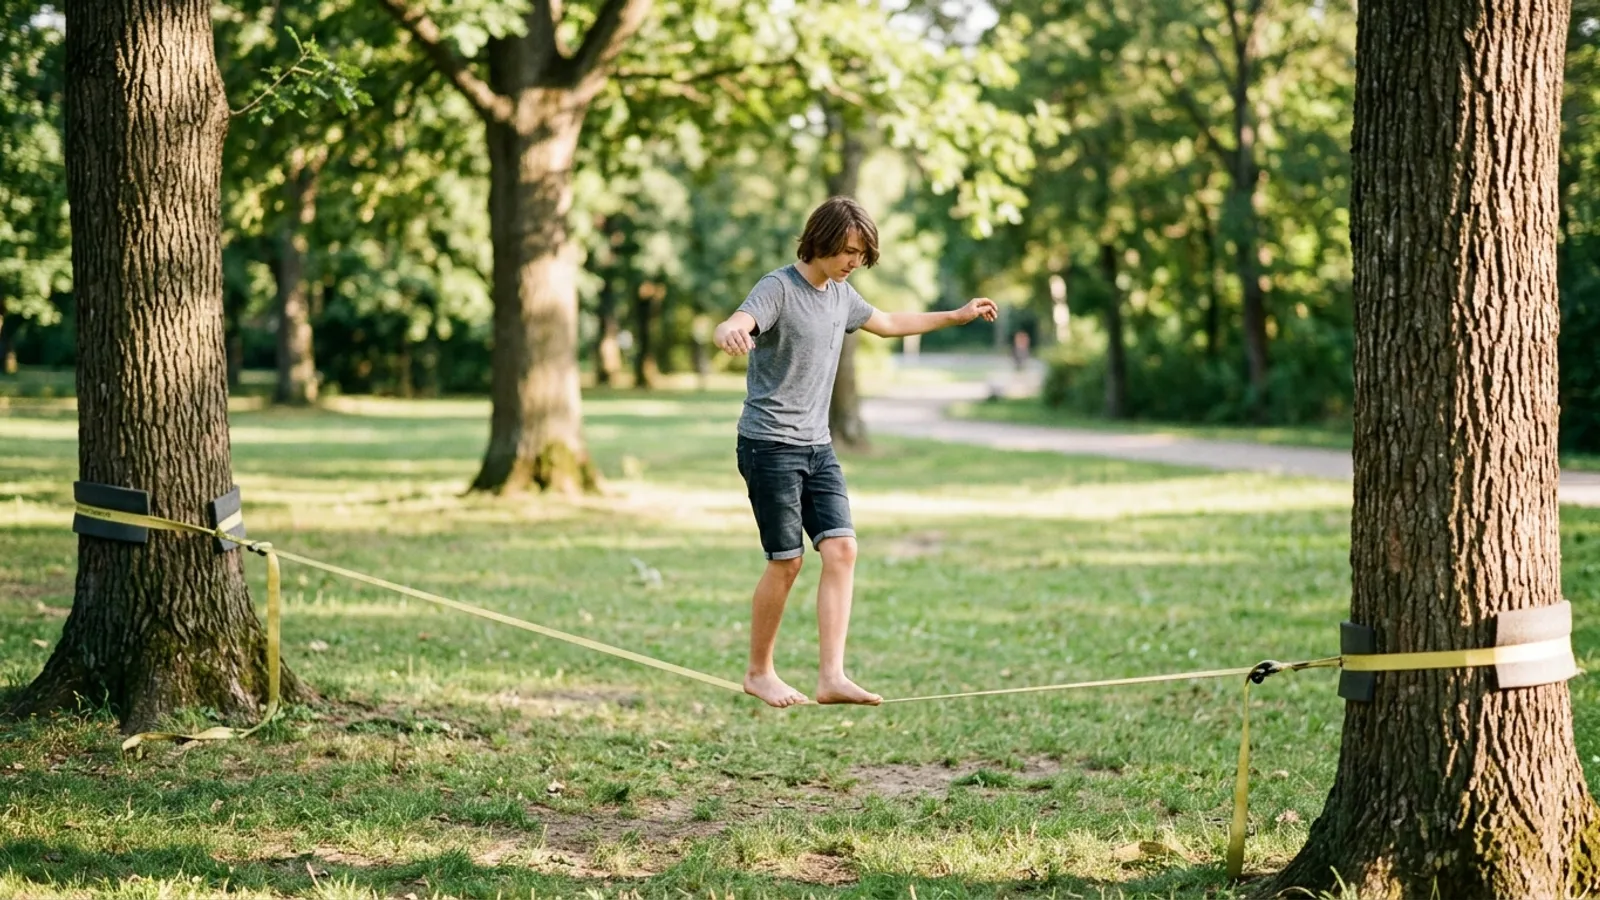
A slackline is not solid ground. It swings, it gives way, it tips out from under you. At first that sounds like the last thing a freshly loaded joint needs. But this very stimulus is the reason the line becomes interesting in the later rehab phase.
Your nervous system constantly receives feedback from muscles, tendons and joints about where your body is in space. This perception is called proprioception. After an injury or operation, this system is often disrupted – the joint feels “unsteady” even though the structure healed long ago. Proprioceptive training targets exactly that.
On the line, this happens almost on its own. Every small movement of the line triggers a reaction in your leg, your hip, your trunk. You don’t train individual muscles in isolation, but the interplay: fast, automatic corrections that you need in everyday life and in sport.
The key point: the line is a tool, not a treatment plan. It doesn’t replace therapy, a diagnosis or a rebuilding program. It can be one building block – embedded in what your treatment team is planning with you anyway. So before your first attempt, agree concretely on whether, when and how the line fits into your plan.
What the line is not
It’s not a quick test of whether you’re “fit again.” If you’ve only just come off rest, the free line is usually far too much. And it’s no substitute for the specific exercises you’ve been prescribed. See it as an additional stimulus once the basics are already in place.
Stabilizing knee and ankle
The knee and ankle are the joints most often rebuilt in rehab with balance exercises – and both respond well to unstable surfaces.
For the ankle, after a sprain or ligament injury it’s often about getting the muscles around the joint to react fast enough again. On the line, your foot constantly shifts in small movements, and the calf muscles as well as the small stabilizers around the ankle work nonstop. This ankle training is therefore dynamic, not static – you don’t hold a pose, you react.
For the knee, stability takes center stage. Good knee stability means that the muscles around the joint – front, back, inside and outside – tense at the right moment and keep the joint on track. On the line you get exactly that in many small repetitions, because you’re constantly readjusting.
Even so: with knee injuries, especially after cruciate ligament or meniscus procedures, strict rules often apply for how much flexion, rotation and load are allowed. A line can create lateral and rotational forces that may be off-limits in an early phase. Whether and when it fits is decided solely by your treatment team – not this text and not your gut feeling.
Two legs before one
A sensible order, which your therapist must clear: first stand on the line on both legs, then slowly shift your weight, and much later perhaps on one leg. The single-leg stand on an unstable surface is demanding and belongs only at the end, once everything else works pain-free and safely.
Dose carefully
If there’s one part you should remember, it’s this one. In rehab, dosing decides everything – and with the slackline, holding back at the start isn’t weakness, it’s the right strategy.
Nothing without clearance. Before you so much as put a foot on the line, you need a green light from your doctor or physiotherapist. That’s not a formality: the right timing depends on your specific injury, the healing phase and your load capacity. Only someone who knows your case can make that call.
Always hold on. The first attempts belong next to a stable support – a railing, a wall, a hand to steady you. You’re meant to learn to balance, not to fall. A second person who offers you a hand is worth their weight in gold in the early phase.
Tension it very low. The line belongs just above the ground, just high enough that it doesn’t rest on it. The lower it is, the smaller the drop and the calmer the line reacts. A short, low-tensioned line is usually better for rehab purposes than a long, high one.
No pain. Pain here is not a training stimulus but a stop signal. If you feel pain, a sharp twinge or a sense of giving way in the joint, you stop the exercise immediately and discuss it with your therapist. Light work in the muscles is normal – joint pain is not.
Short and focused. Better a few minutes with full attention than long sets to exhaustion. Fatigue worsens coordination, and that’s exactly when missteps happen. Stop while you’re still working cleanly.
For safe equipment, it’s worth looking at certified sets. The DIN 79400 standard is a reference for the quality of slackline gear – it says something about the equipment, not about your medical suitability. A solid, low-tensionable beginner set with ratchet for a stable stand gives you the controlled base you need in this phase.
Exercises with support
The following exercises are meant as ideas you only try after clearance and ideally under guidance. Your therapist decides which of them suit your stage – and may well set a different order.
Secure stand with support
Stand next to a stable support. First place one foot centered on the line, then carefully the second, while you hold on. The goal isn’t to stand for long, but to learn to feel the joint, without pain. Hold on as much as you need.
Shift your weight
Once you stand securely on both legs, slowly shift your weight from one leg to the other – always while holding on. This trains the stabilizers at the knee and ankle in small, controlled steps. Stay in a range where you can catch yourself at any time.
Mini squat
If your treatment team has cleared flexion, bend slightly at the knees and come back up – only a small amount, with support. Make sure your knees stay over your feet and don’t cave inward. Even a few centimeters of movement is a serious stimulus here.
Controlled letting go
Only late, once everything works pain-free, do you let go of the support for brief moments and grab it again right away. This way you ease toward free balancing without giving up the safety net. You only take this step if your therapist gives the green light.
If you have no tree and no fixed anchor point, you can attach the line indoors or in the yard to a frame. A slackline frame for a stable setup without trees makes training plannable and weather-independent – handy if you’re supposed to practice regularly and under consistent conditions. You’ll find more suitable gear if you’d like to browse the Primeful shop at your leisure.
If, after the acute phase, you want to return to general balance and stability training, the Slackline fitness guide helps you build up and the fall prevention with the slackline helps with standing securely in everyday life. Both build on the stability laid down in rehab.
Frequently asked questions
Can I just start with the slackline after surgery?
No. After an operation, injury- and phase-dependent rules apply for load, flexion and rotation. Whether and when a slackline is even an option is decided solely by your treatment team. Ask specifically before you try it.
Does the slackline replace my physiotherapy?
No, absolutely not. The line can be a complementary building block for proprioceptive training if your physiotherapist adds it to your plan. It replaces neither the therapy nor the prescribed exercises, but at most fits in alongside them.
What do I do if the joint hurts during practice?
You stop the exercise immediately. Joint pain in rehab is a stop signal, not a sign of hard, good training. Raise the symptoms at your next appointment so that load and approach can be adjusted.
How high and how long should the line be in rehab?
As low as possible – just above the ground, so the drop stays small and the line reacts more calmly. A shorter line is usually easier to control than a long one. It’s best to clarify the exact settings and the right timing directly with your therapist.