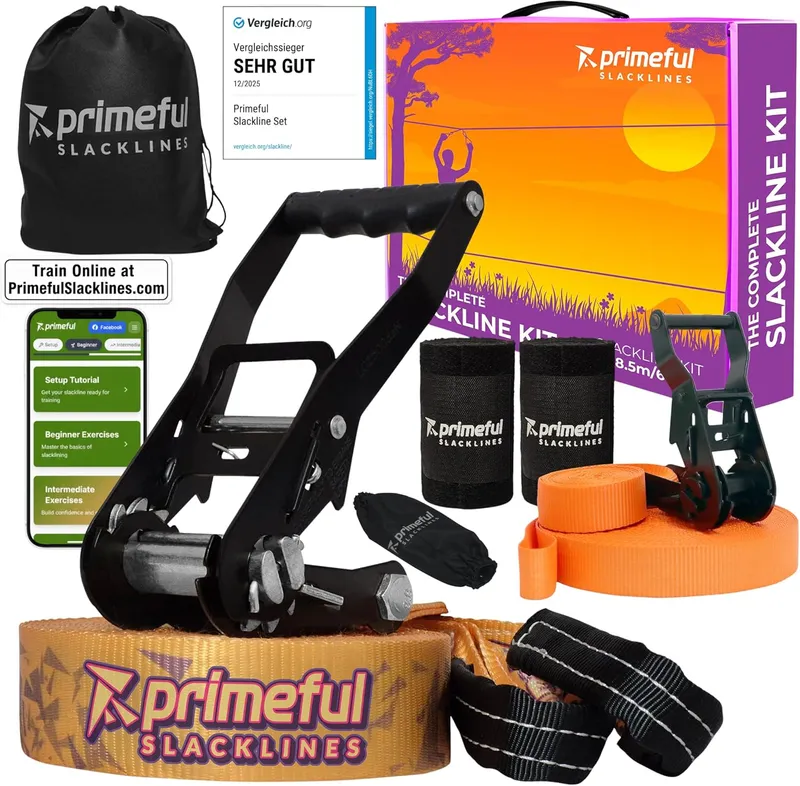
Primeful slackline set with training line
Webbing, ratchet and tree protectors in one set — everything you need for your first setup, ready to go out of the box.
Learning to set up a slackline sounds more technical than it is: with a little routine, your line is up in a few minutes — whether in the park between two trees or indoors on a frame. This guide shows you step by step how to tension it safely, what to look for in your gear, and how to take your first steps on the webbing. That narrow band turns into a reliable training tool for balance, core and stability — all year round, indoors and out.
What you need for the setup
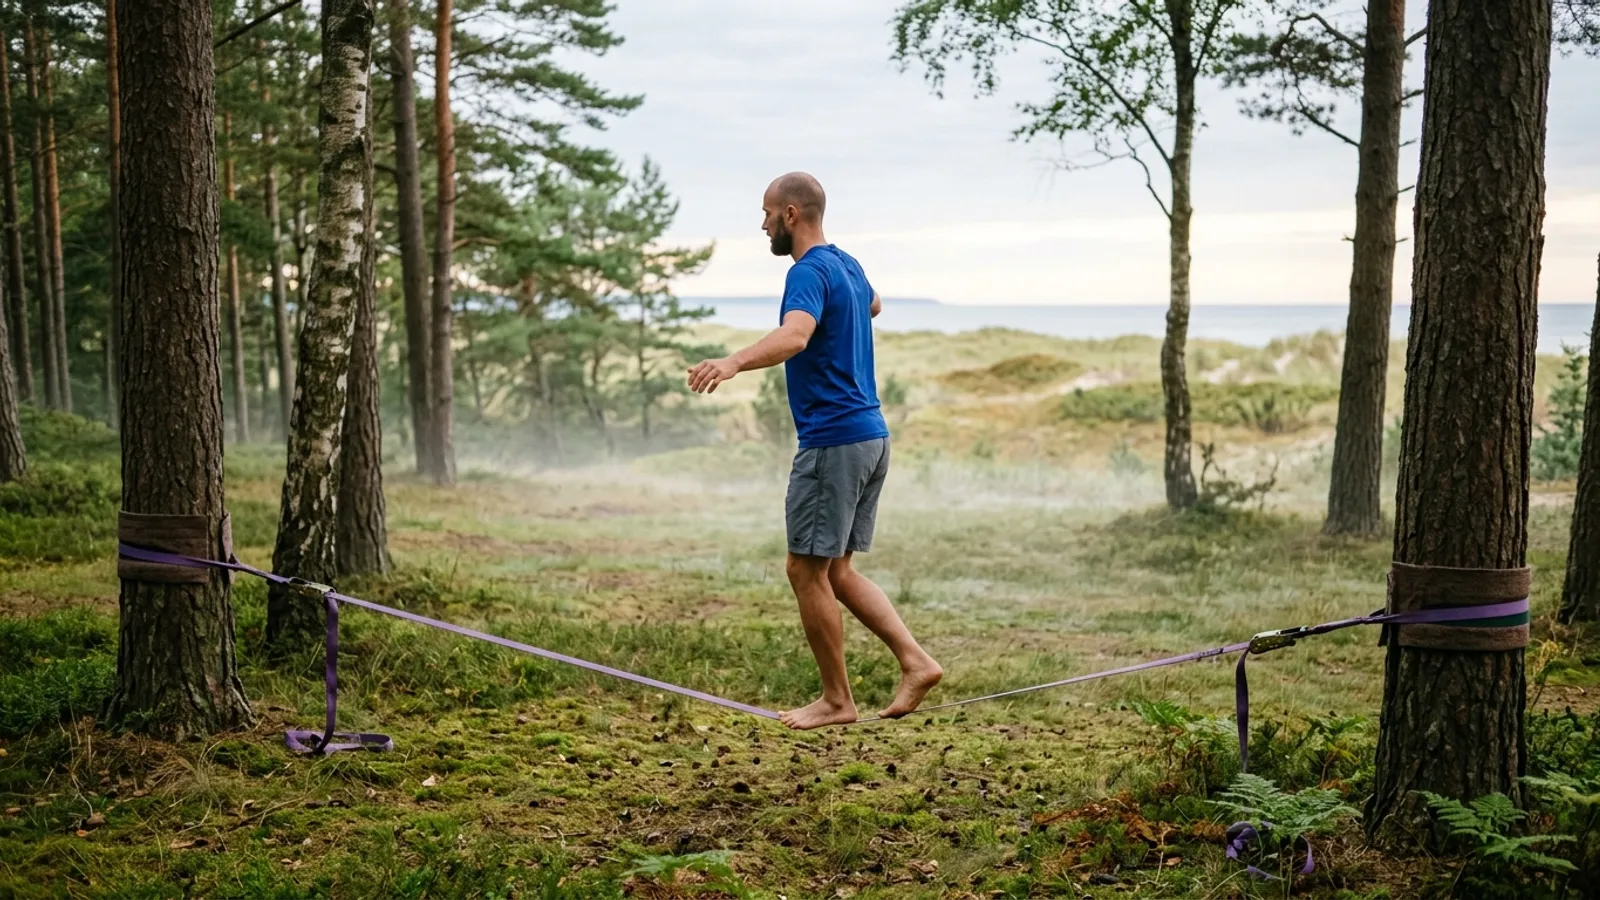
For the classic setup between two trees you need surprisingly little: a slackline with a ratchet, two stable anchor points, and — absolutely essential — tree protectors. The wide pads spread the pressure and protect the bark; without them, the tension can permanently damage the tree. For starting out, a 50 mm wide band is pleasant because it sits more calmly than a narrow trickline and gives you more surface under your foot.
Before you get going, a quick gear check pays off:
- a slackline band with a working ratchet (no rusted or jammed parts)
- two tree protectors or wide pads
- two stable trees or a frame as an anchor
- soft, level ground free of stones, roots or edges
- comfortable clothing and, ideally, a training partner for your first attempts
Look for tested quality: the German standard DIN 79400 describes requirements for slacklines and is a good point of reference. If you don’t have any gear yet, a complete beginner set with ratchet and tree protectors covers everything at once and takes away the question of what fits together.
How to set up a slackline — step by step
Here’s how to tension your line between two trees. Work through the steps calmly, one after another — routine comes faster than you’d think.
Choose points & distance
Find two stable trees (trunk diameter from about 20 cm) roughly five to eight metres apart. The ground in between should be soft and free of stones or roots.
Safety: Tension it low: knee- to hip-height is plenty for practice.
Fit the tree protectors
Place the tree protectors around both trunks. They protect the bark and keep the round sling from slipping or cutting in.
Tip: Always put the pads between bark and band — never wrap the bare band around the trunk.
Thread the band & ratchet
Attach the round slings on both sides, thread the band through and feed the loose end cleanly into the ratchet. No twisting — the band should lie flat.
Tip: Pull it tight by hand first, then attach the ratchet.
Tension & check
Tension with the ratchet until the band holds and gives only slightly. Load it briefly with your foot and check every connection before you fully step up.
Safety: A slightly sagging line is more beginner-friendly than one cranked rock-hard.
No tree? Set up with a frame
No trees nearby? No problem. You can set up a slackline without a tree using a stable frame — in the garden, the living room or the basement. The frame replaces the anchor, the height and tension stay the same every time, and you can train all year round, even when there’s snow outside.
View the slackline with frame Set it up, get going, pack it away again — no tree needed.The setup couldn’t be simpler: stand the frame up, secure the ground anchors or weights, clamp in the band, done. That’s exactly what makes the frame the most uncomplicated solution if you want to practise regularly and whatever the weather. Another advantage: because the conditions are identical every time, you can compare your progress far better than on changing trees in the park. Store the frame and band dry after training — then the gear lasts a long time and is ready to go straight away next time. If you’re short on space, just take it down after each session; in a few minutes everything is packed away.
Tension safely and fall safely
Safety decides whether the training is fun. Tension the line low — knee- to hip-height is enough for all your first exercises. Keep the area below and beside it clear of hard edges, tables or flowerpots. Always step down in a controlled way rather than jumping, and quickly check the ratchet and slings before every session.
Falling is part of it and is harmless at a low height: bend your knees slightly, land softly on your feet, and catch yourself with your arms if you need to. Practise this relaxed from the start and you’ll lose the fear of wobbling — and learn faster because of it. Never train to complete exhaustion; tired legs react more slowly, and that’s exactly when the little slip-ups happen.
Common setup mistakes
Most of the frustration at the start comes from the same causes. Avoid these points and the start feels noticeably easier:
- Tensioned too high: the higher the line, the greater the drop and the mental hurdle. Start low.
- Pulled too tight: a rock-hard line is jumpy and restless. A little sag is more forgiving.
- Tree protectors forgotten: bad for the tree and for the sling’s grip. Pads are a must.
- Hard ground: asphalt or stones are off-limits. Choose lawn, mats or soft forest floor.
- Going solo too soon: for your first attempts, a hand to hold on to helps enormously.
Your first steps on the line
Now it’s about learning to slackline. Stand centred on the line, one foot lengthwise on the band, and fix your gaze forward on a steady point — not on your feet. Keep your arms above shoulder height, working like balance oars. For your first attempts, feel free to hold on to a hand or a pole; that’s not cheating, it’s sensible progression.
Practise in short, focused blocks: five minutes of full attention beats twenty tense minutes. Once the single-leg stand is solid, you add the second foot and try your first steps. Once you can stand securely, move on to targeted training for core and balance — you’ll find the full exercise sequence from standing to strength work in our slackline fitness guide. If you want to use the line as a complement to climbing, skiing or surfing, take a look at slackline cross-training.
Frequently asked questions
How far apart should the trees be?
For starting out, around five to eight metres is ideal. Shorter lines are tighter and more fidgety, longer ones swing more — both make the start unnecessarily hard. With some practice you can work your way up to bigger distances.
How high should I tension the slackline?
As low as possible: knee- to hip-height is plenty for practice and keeps the drop small. You only need it higher for advanced tricks, and even then only with experience and proper protection.
Do I really need tree protectors?
Yes. Without pads the tension damages the bark and the band can slip. Tree protectors are a must — and good beginner sets already include them, so you don’t forget anything.
Can I do all this indoors too?
Yes, with a frame. It replaces the trees, needs little space and is quick to put up and take down again — ideal for training in winter or when there’s no garden nearby.
Ready to set up? Grab the right set and tension your first line.